Artist Connection Help Center

How to Use OBS Studio for Streaming

How to Use OBS Studio for Streaming

Stream live content through Artist Connection using Open Broadcaster Software (OBS). You must install OBS on your computer before following these steps.
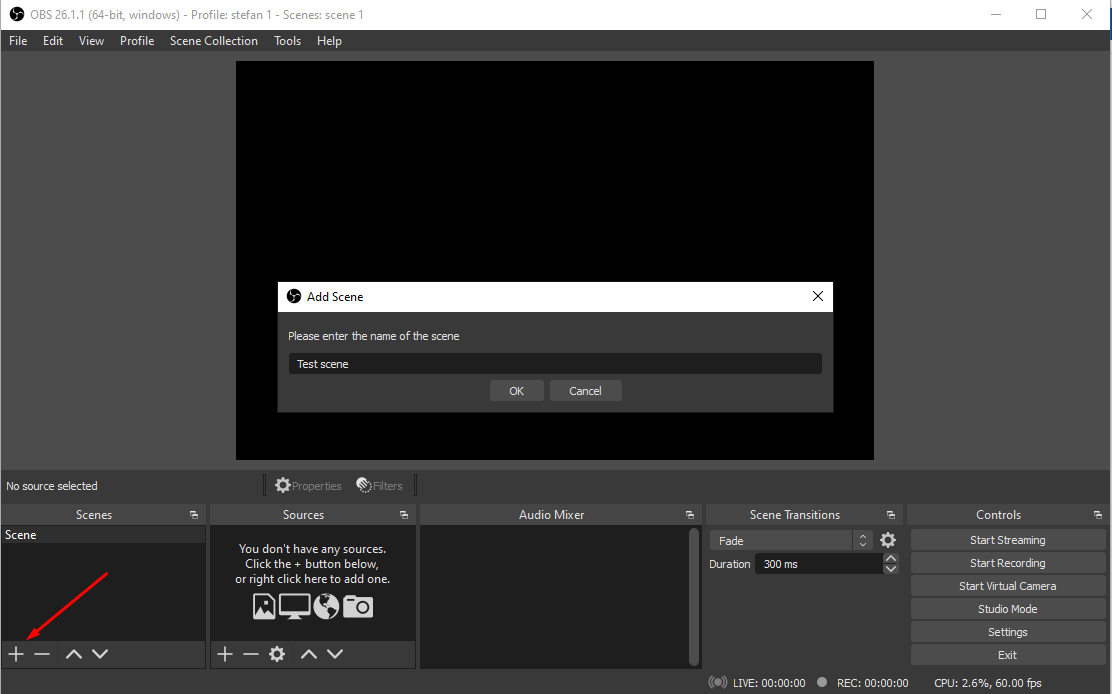
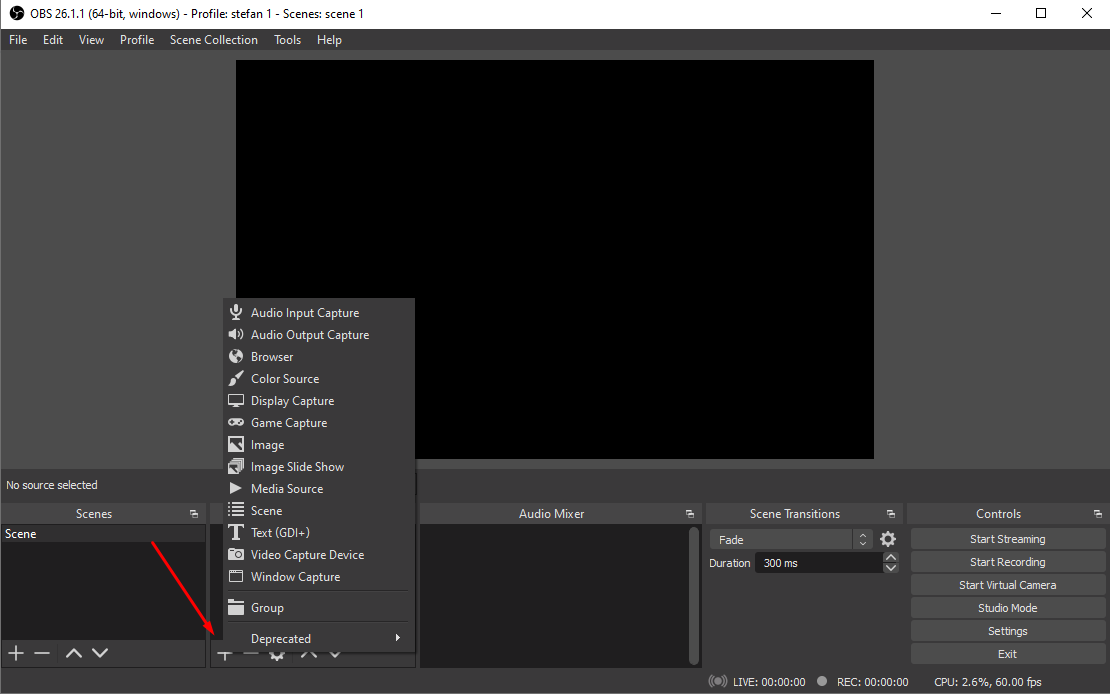
  1. First you will want to add new scene. Under Scenes, click on the + in the lower left to create and name your new scene.
  1. After creating a new scene, you will need to choose sources for your streaming. Under Sources, click + and locate the source(s) you’d like to use.
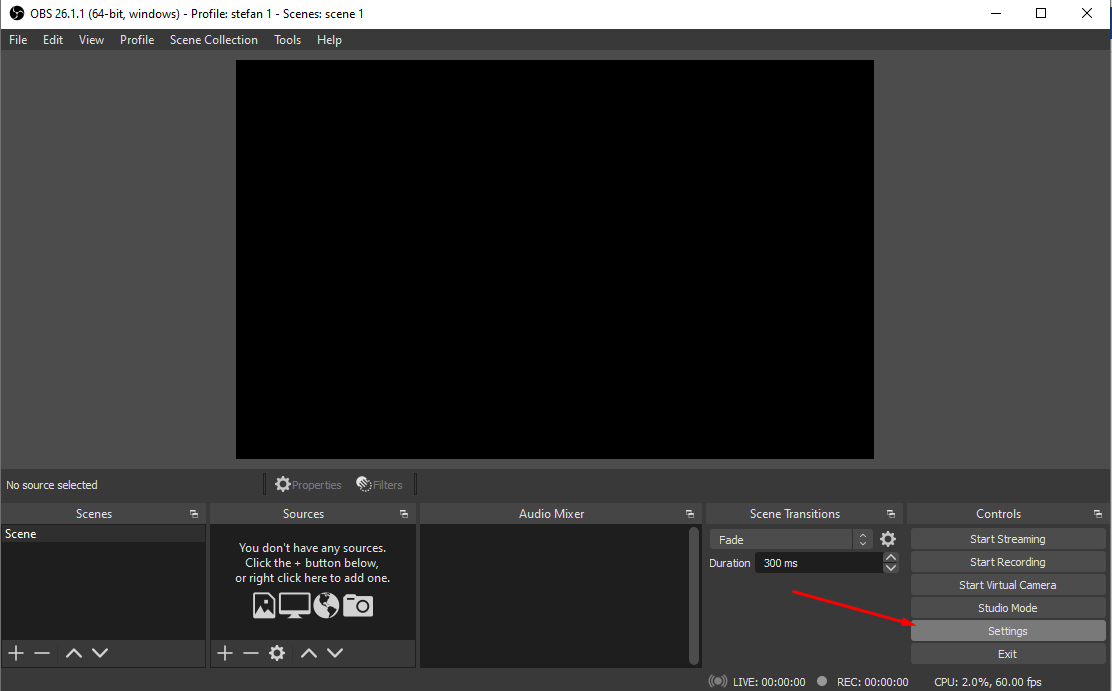
  1. Now that you have created a scene and chosen sources for your streaming, click Settings at the bottom right side of the screen
  1. Now that you have created a scene and chosen sources for your streaming, click Settings at the bottom right side of the screen.

In this section you will need to adjust settings according to your computer and network configuration. The most important are Stream, Output and Video.
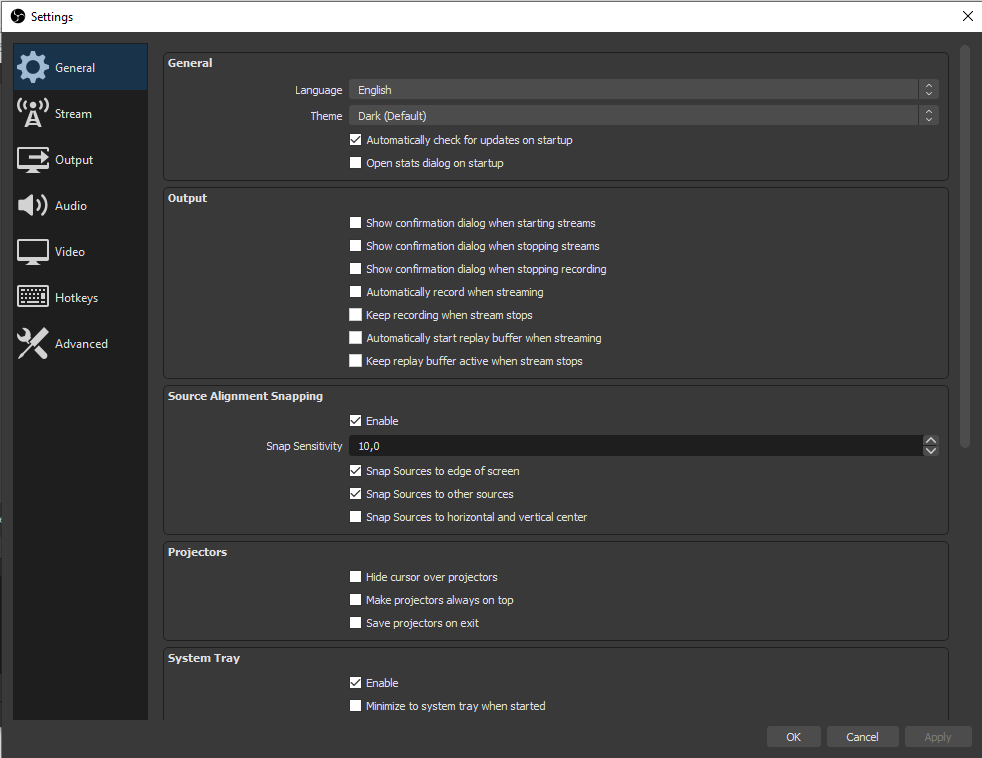
OBS Settings
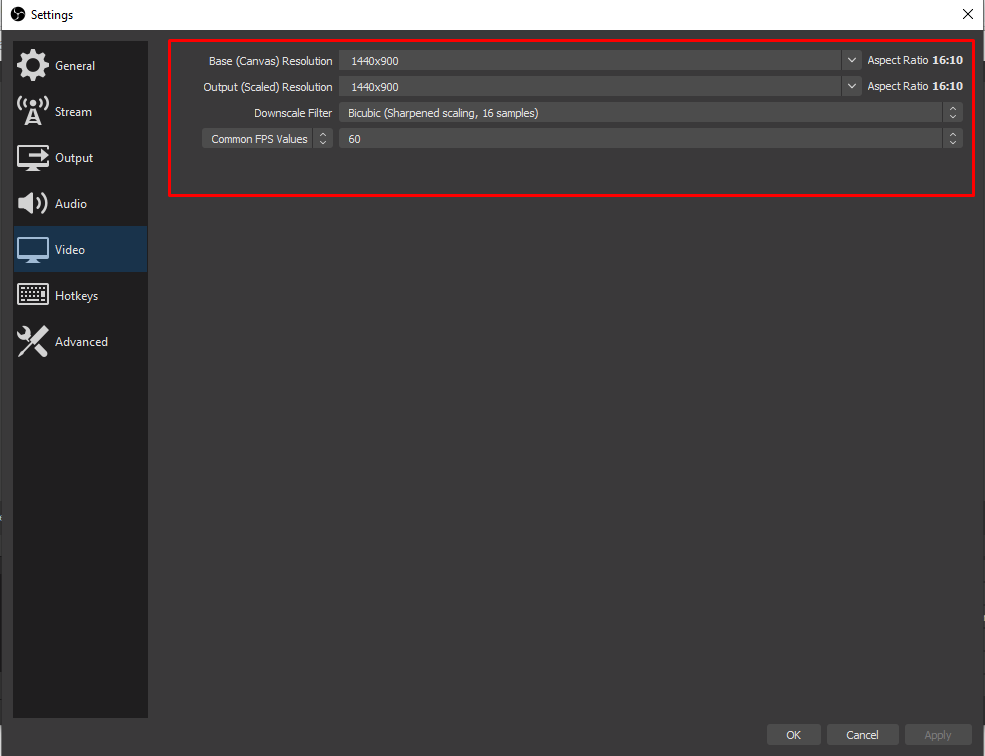
Video Settings

In the video section, set the resolution that fits your configuration and needs.
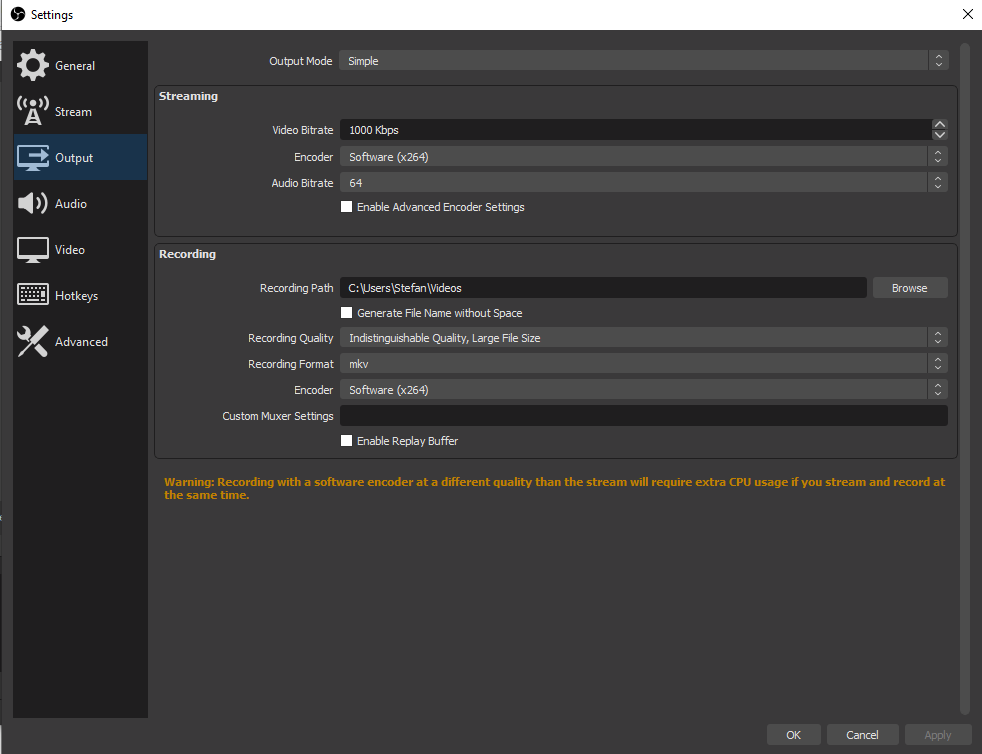
Output Settings

In the output section, you will set the Streaming and recording options.
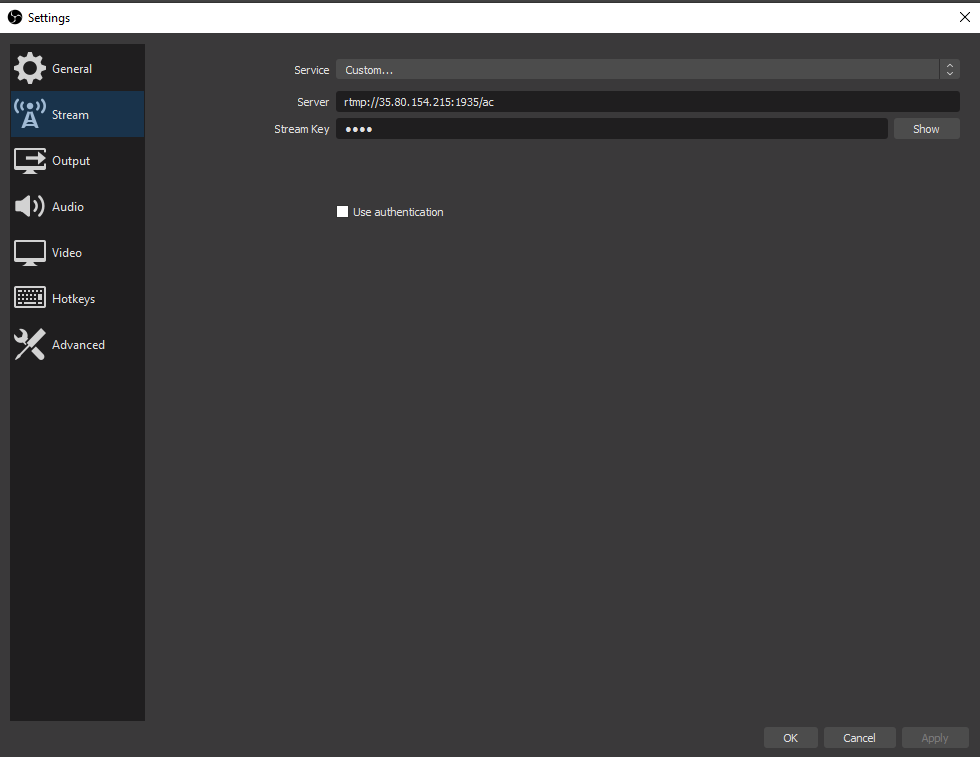
Stream Settings

This is the section where you will connect your OBS studio with Artist Connection platform.

  1. Set Service to “Custom…”
  2. Copy Input destination from Artist Connection into the Server field
  3. Click Ok.

Learn how to connect OBS and Artist Connection here.
Start Streaming in OBS

  1. Close the Settings window.
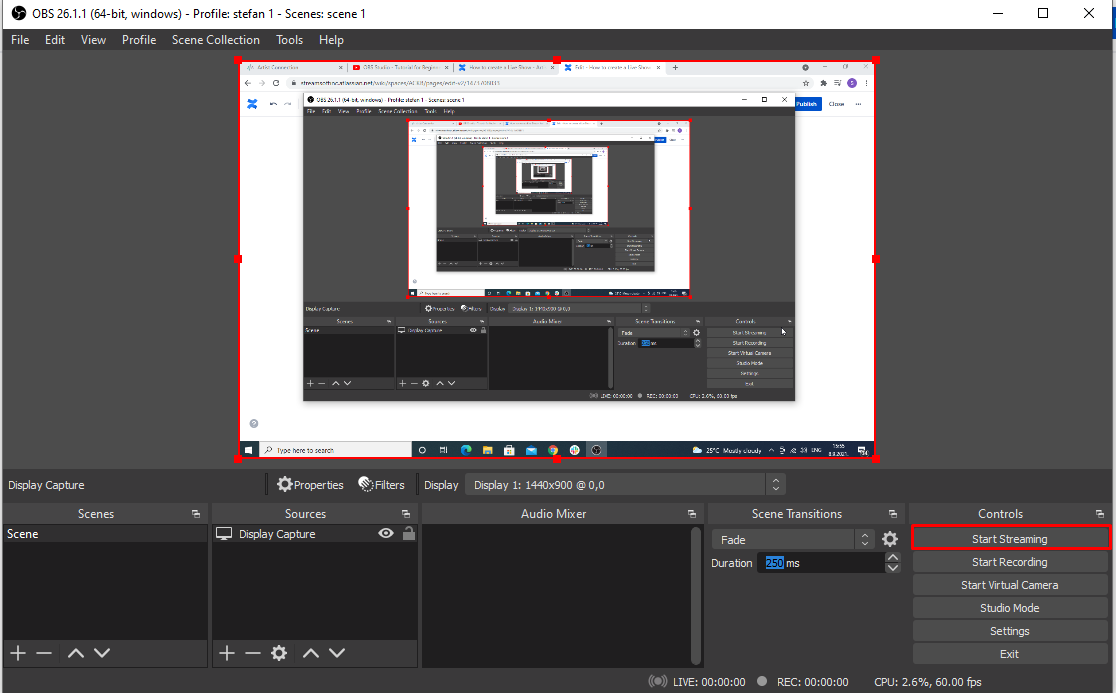
  2. Click Start Streaming on the right hand side of the screen.
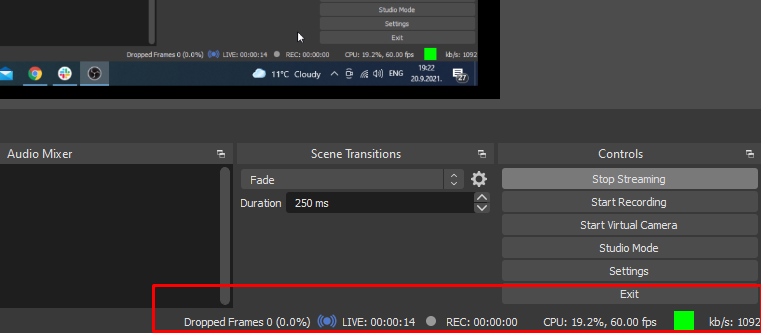
  1. After you click Start Streaming, check in the bottom right corner that the OBS studio is successfully connected.