How to Create a New Live Stream
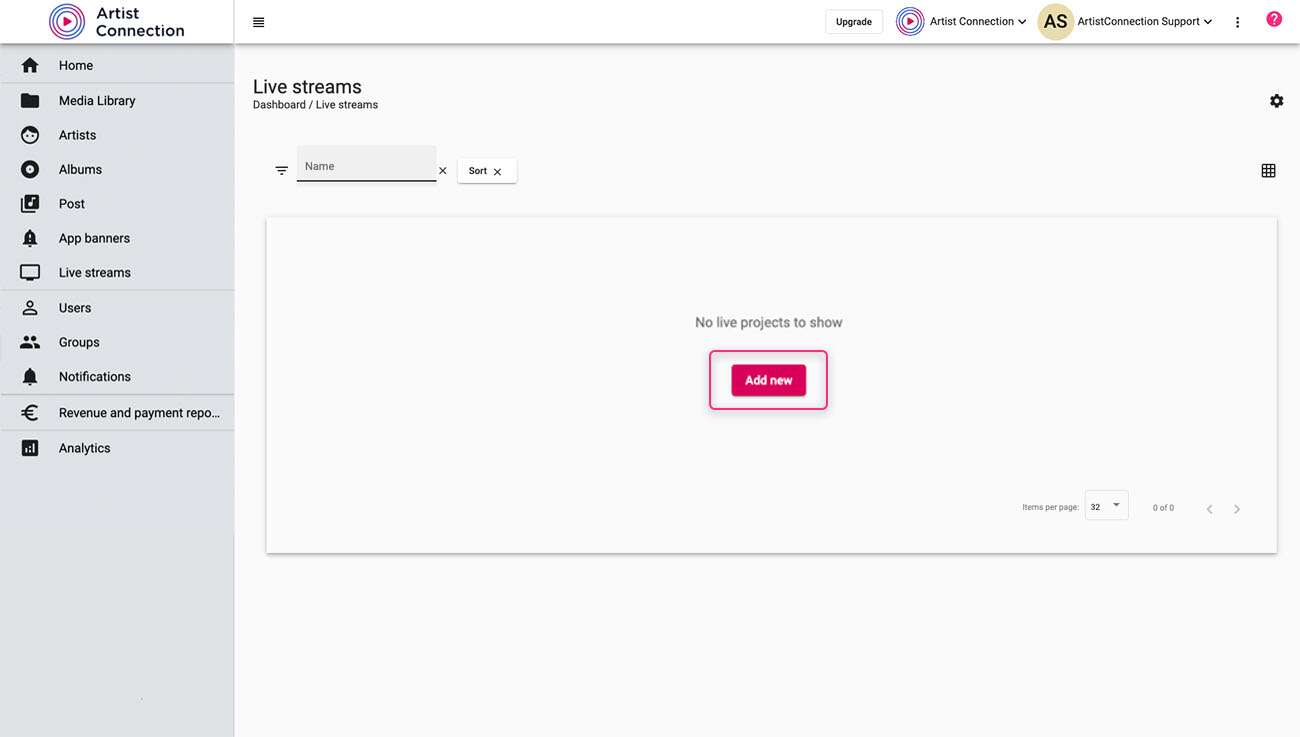
- Click Live Streams on the left hand menu of your studio portal.
- Click Add New.

- Enter in all your live show details:
- Choose Artist: The field for artist will have drop down where you can choose previously created artists for the show.
- Title: Name your show in the title field.
- Description: You will have the option to add a description for the show. Write whatever you want to better describe your show.
- To add a picture to your live show, you can use a file from the Media Library or a file from your local machine.
- To use a file from your local machine, locate the file then drag and drop it on the default image in the portal.
- To use an image from your Media Library, click on the default image to open your Media Library. Locate the file you wish to use then drag and drop it to the default image.

- Set your Live From and Live Until dates in the designated fields. This is the time frame when your live show will be streaming on Artist Connection.

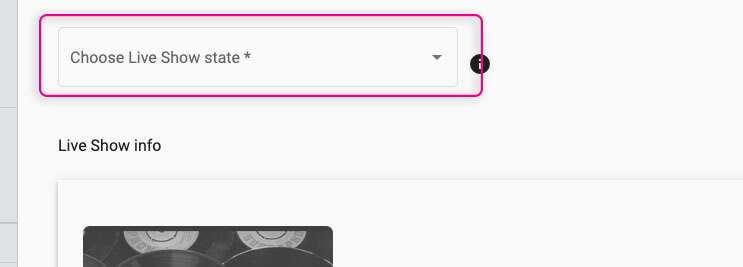
- Set the Live Show State:
- Draft: this state is how you test the live stream prior to it going live to users.
- Published: this state is when all the testing is done and the live show is ready to be streamed.
- Rehearsal: this state allows for a limited audience rehearsal prior to starting a live stream.

Now that you finished with adding these information, there will be an option to save the live show in the bottom right corner. By clicking Save, the page will expand with additional options. This is where you will connect your live stream to Artist Connection.
