Creating a New Album
Whether you want to quickly share an album to your team or compile into a project to distribute, creating albums is an important step of the Artist Connection workflow. You can even create mixed media albums to include images and PDFs!
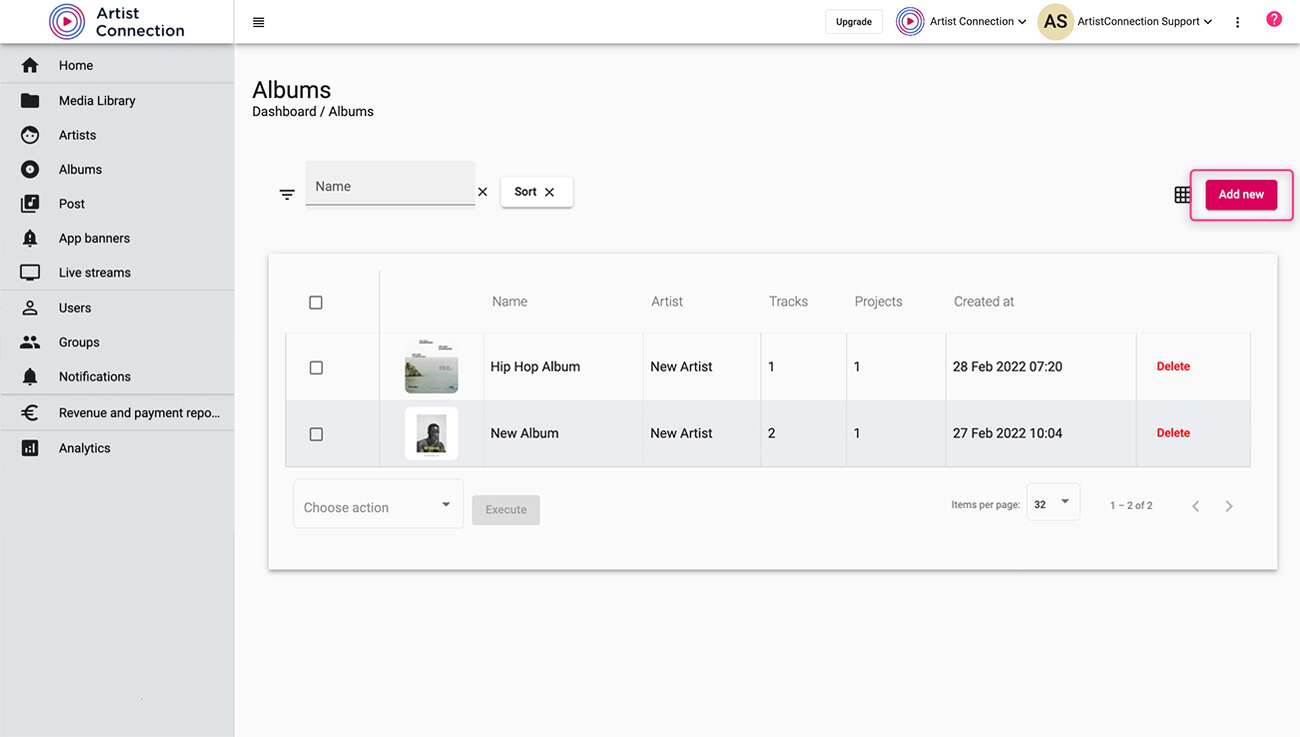
- In your studio portal, click Albums from the left hand menu.
- Click Add New.
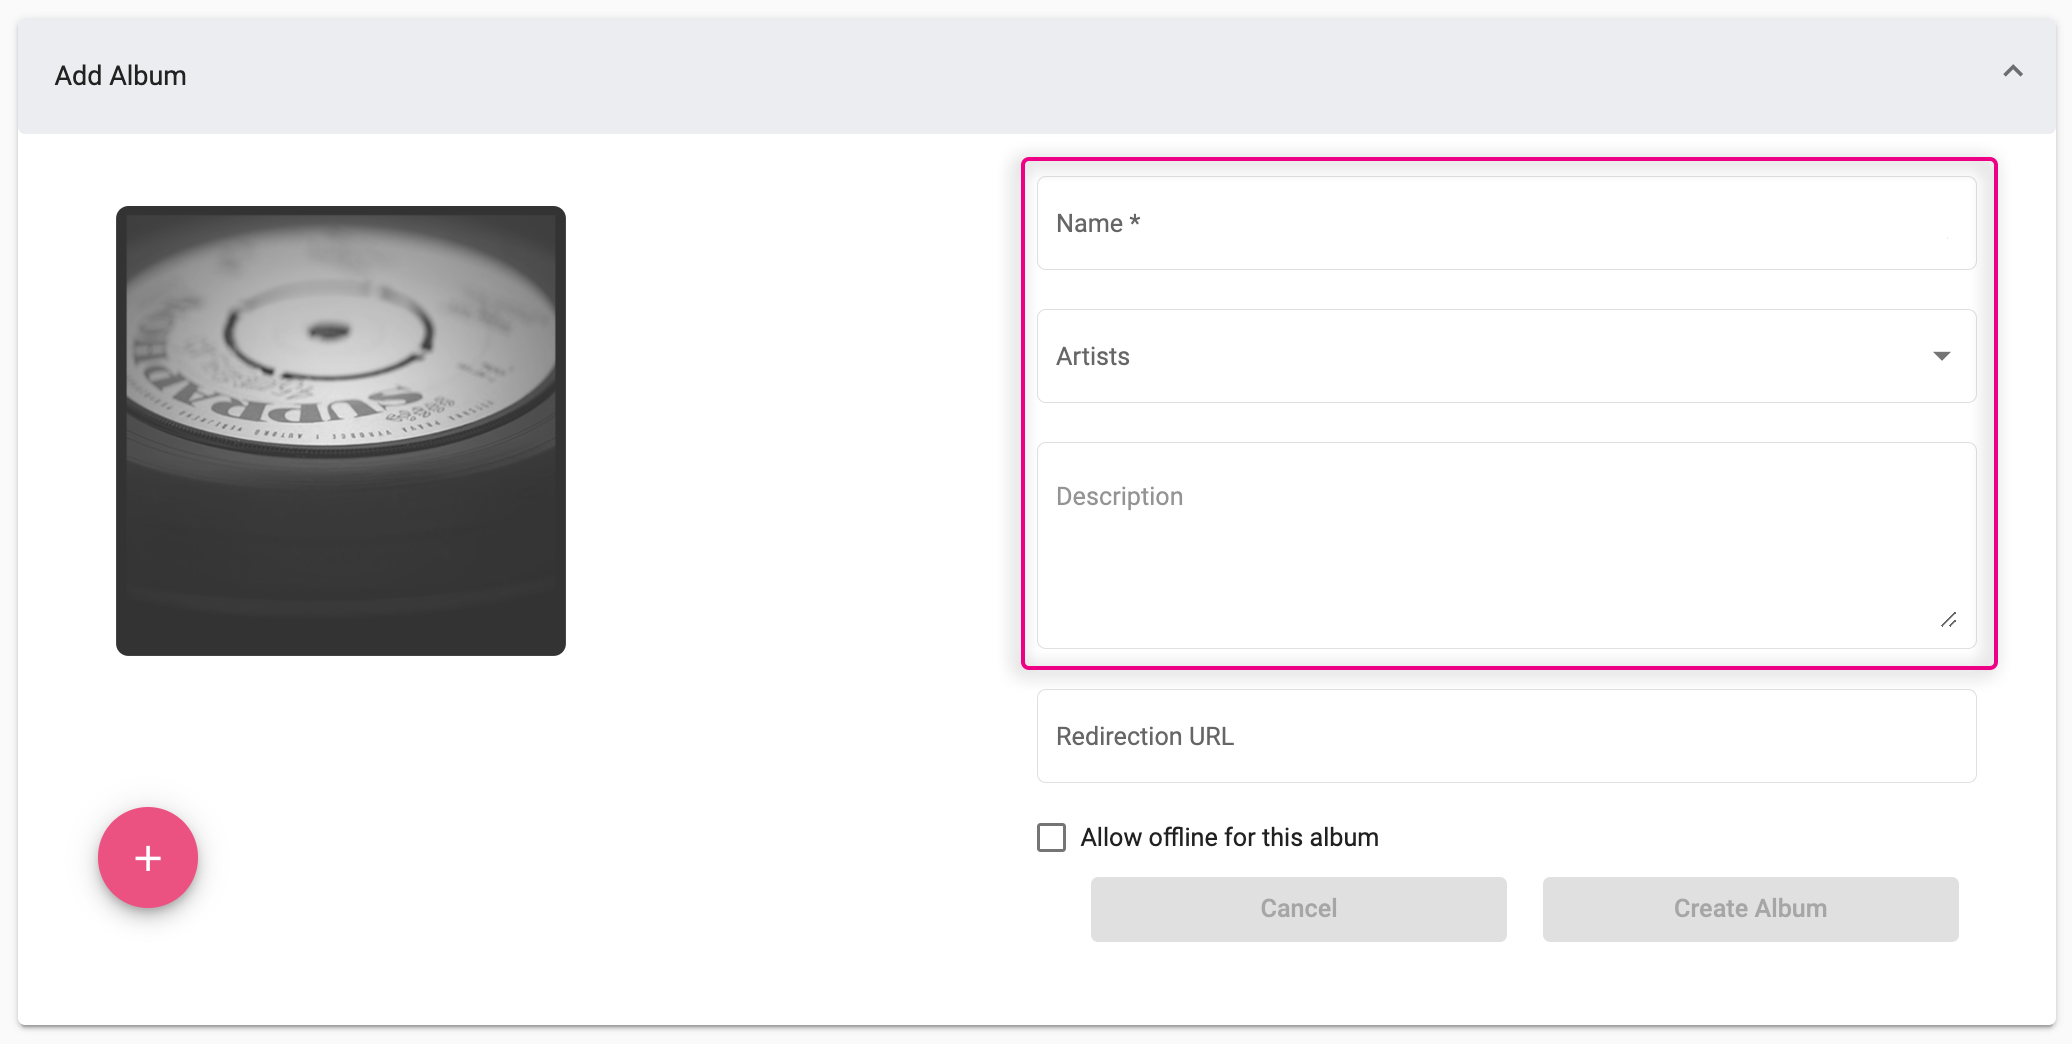
- Name your new album, assign an artist* and write a quick description.
*If no artist is selected, Unknown Artist will be assigned.
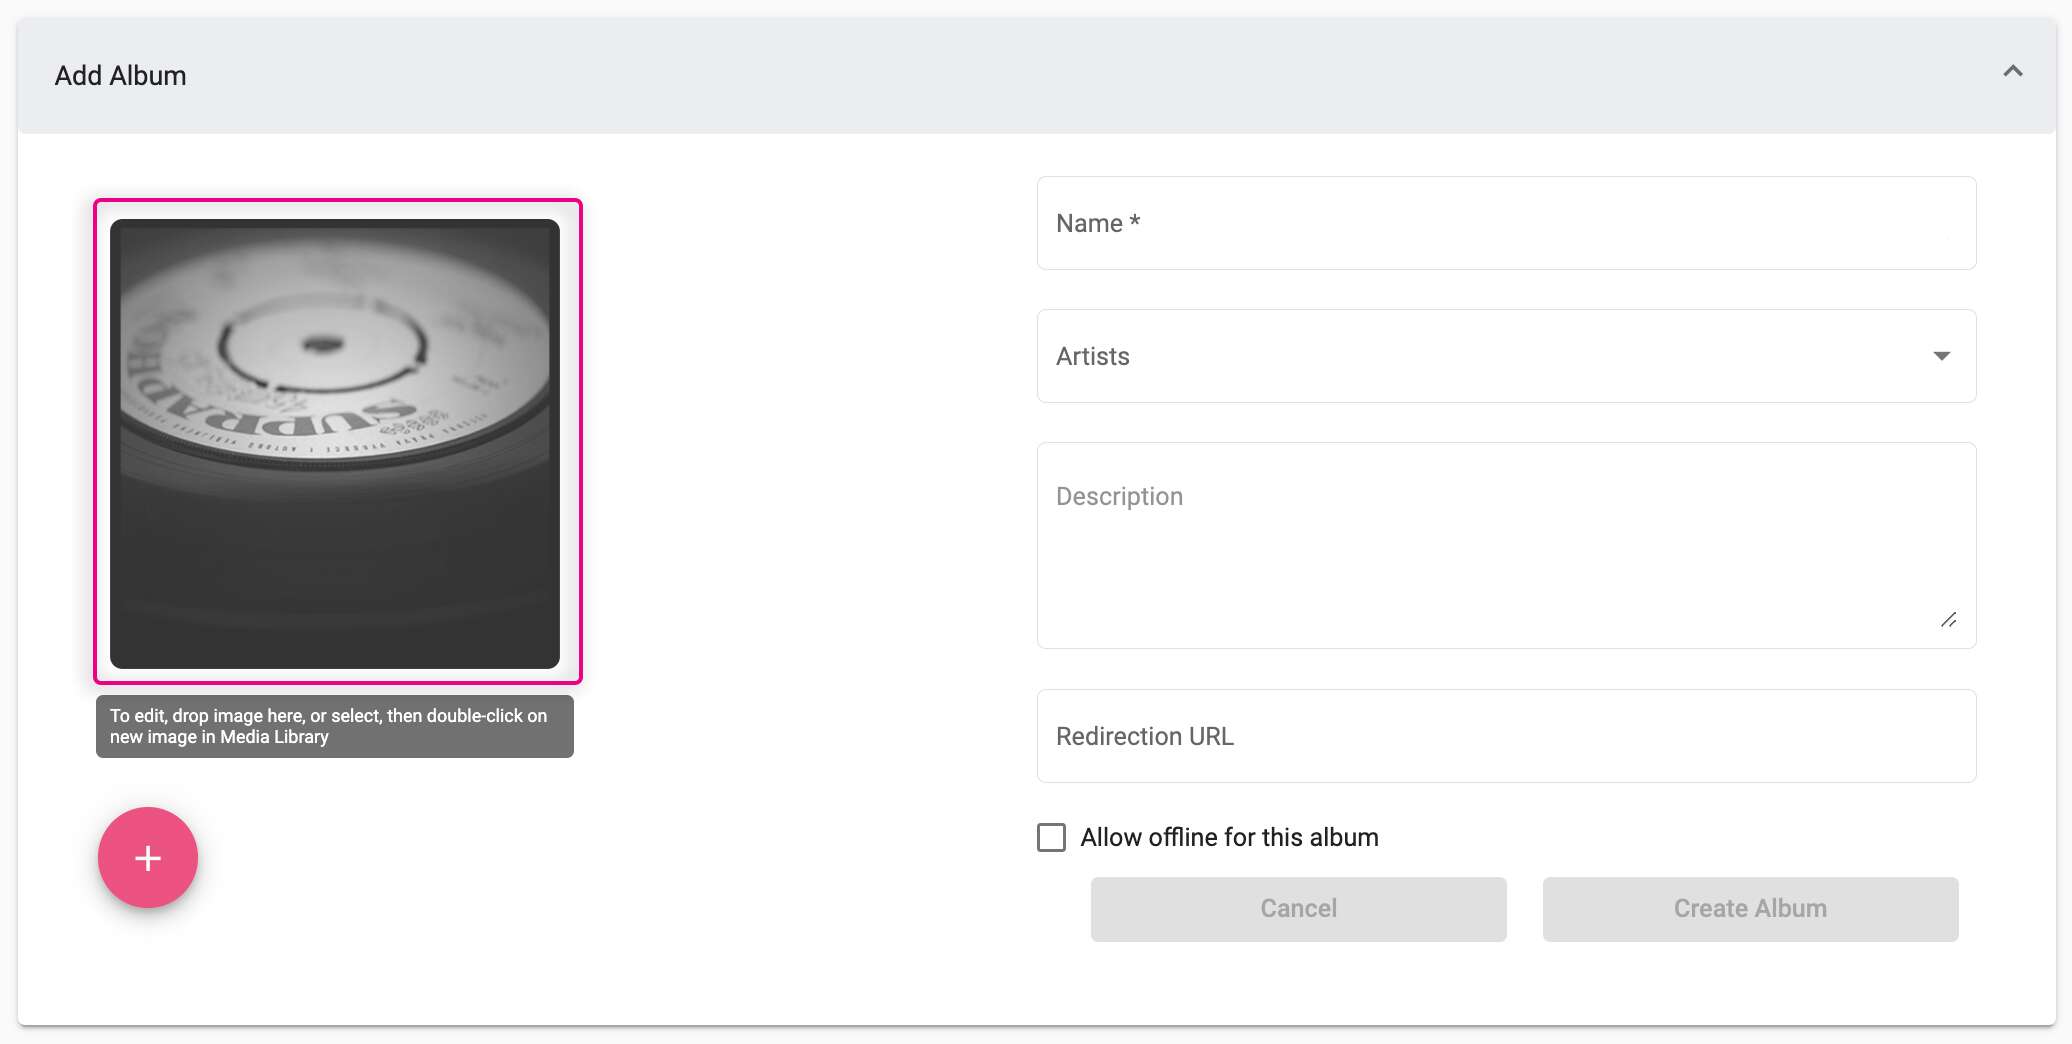
- To upload an album cover, you can use a file from the Media Library or a file from your local machine.
- To use a file from your local machine, locate the file then drag and drop it on the default image in the portal.
- To use an image from your Media Library, click on the default image to open your Media Library. Locate the file you wish to use then drag and drop it to the default image.
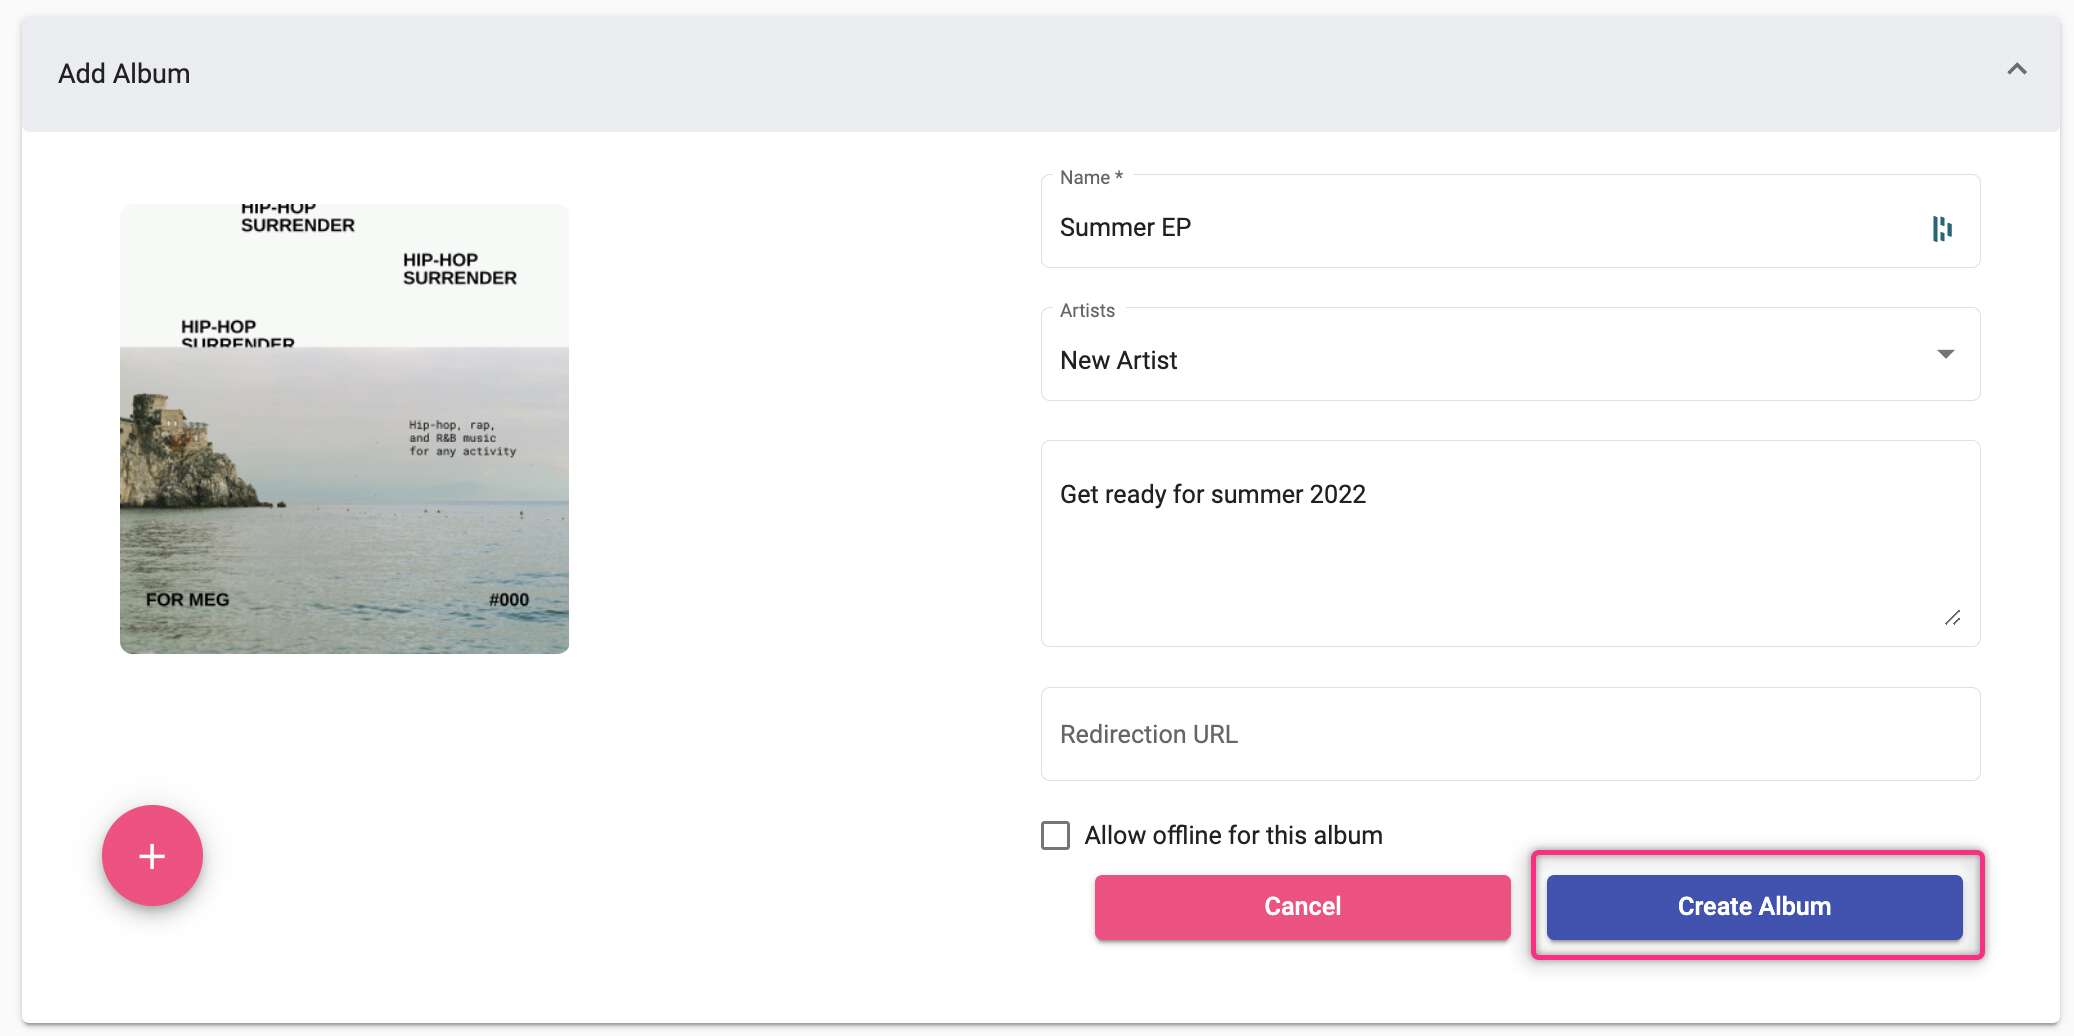
- At this stage, you can either click Create Album to save your album or go straight to adding tracks.
Adding Tracks to an Album
- Go to the album you’d like to add tracks to.
- Click the pink plus icon.
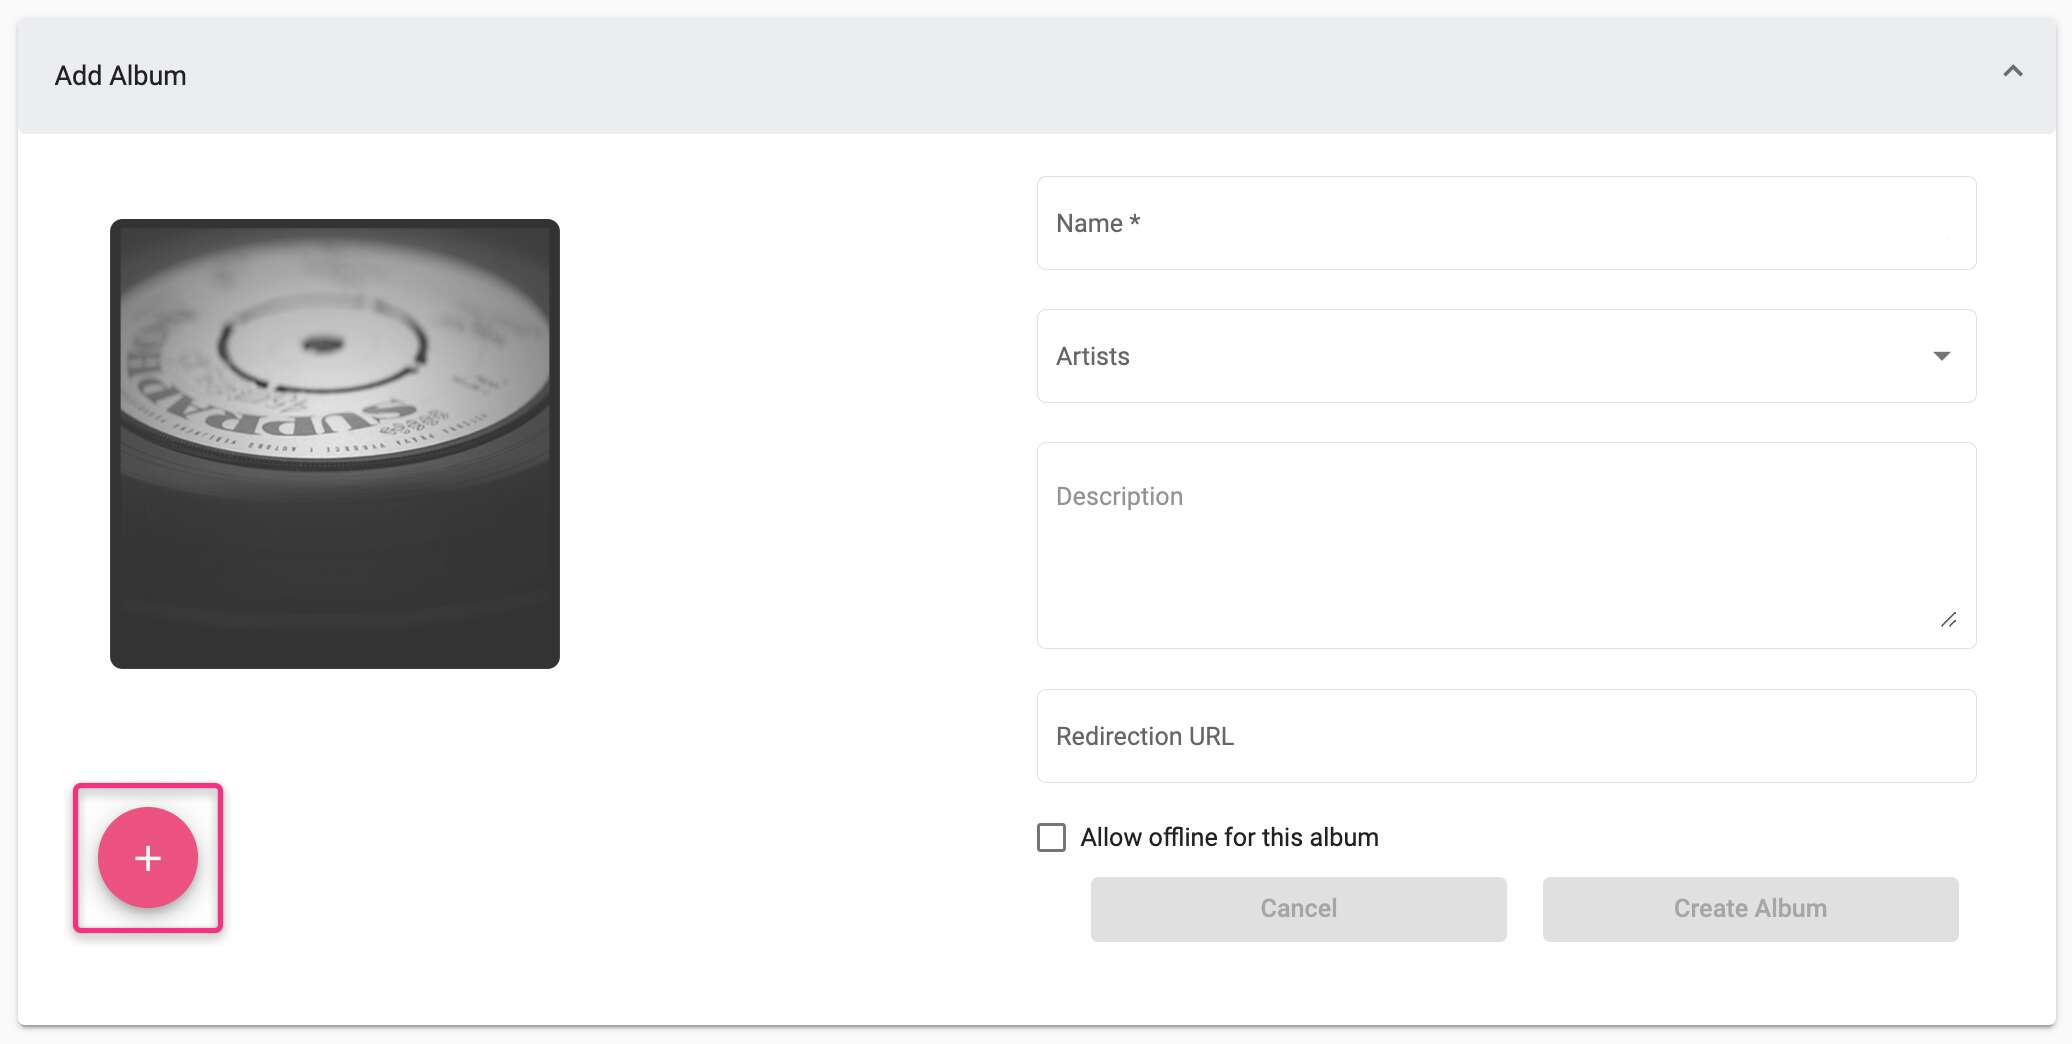
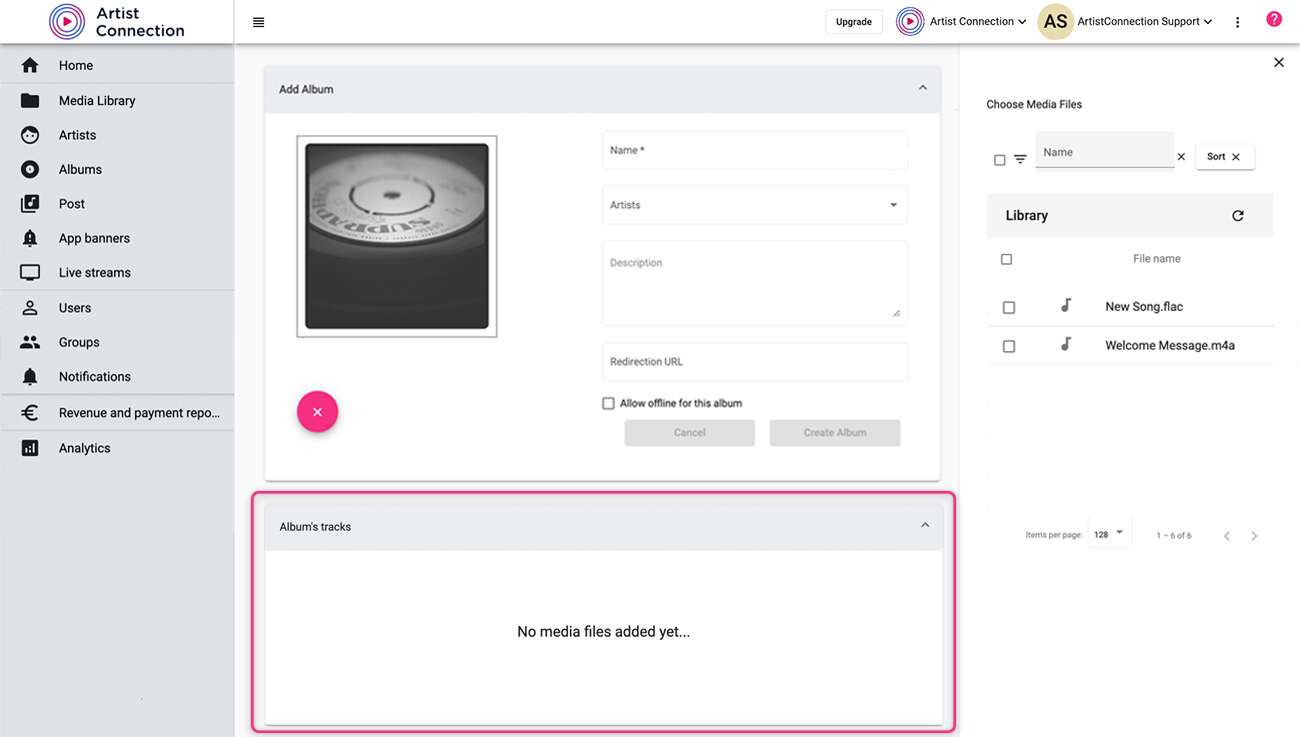
- Your Media Library will open on the right side of the screen. Find the tracks you want to add to your album, and drag and drop them into the Album Tracks section of the portal. To add multiple tracks at one time, check the box of each track then drag and drop the files.
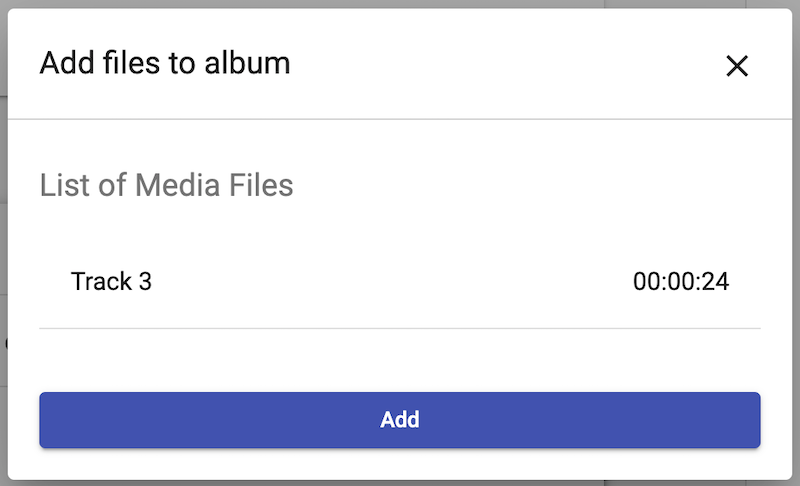
- Click Add.
- Click Create Album or Save.
