Using Rehearsal Mode for Live Streams
- Click Live Streams from the left hand menu in your studio portal.
- Create or click on an existing live stream.
Learn how to create a new Live Stream here.
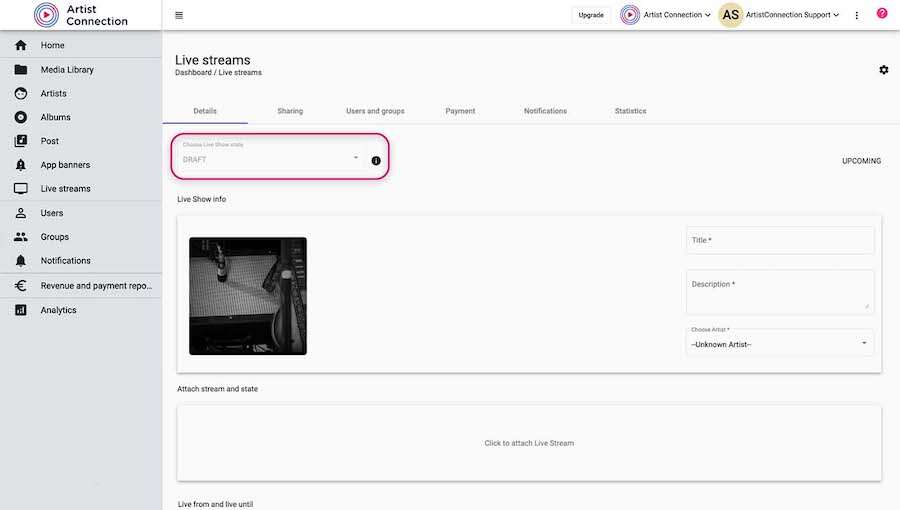
- In the details of a live stream, you will see a Choose Live Show State drop down menu at the top of the page. This is where you can set the state of your live stream, controlling the visibility of your stream.
- Draft: this state is how you test the live stream prior to it going live to users.
- Published: this state is when all the testing is done and the live show is ready to be streamed.
- Rehearsal: this state allows for a limited audience rehearsal prior to starting a live stream.

- Setting your live stream to Rehearsal allows you to privately stream to select users in preparation for going live.
- During rehearsal, switch the show state to rehearsal.
- Click Save.
- After rehearsal has ended, change show state to either Draft or Published. Click Save.
Adding Users to Rehearsal Mode
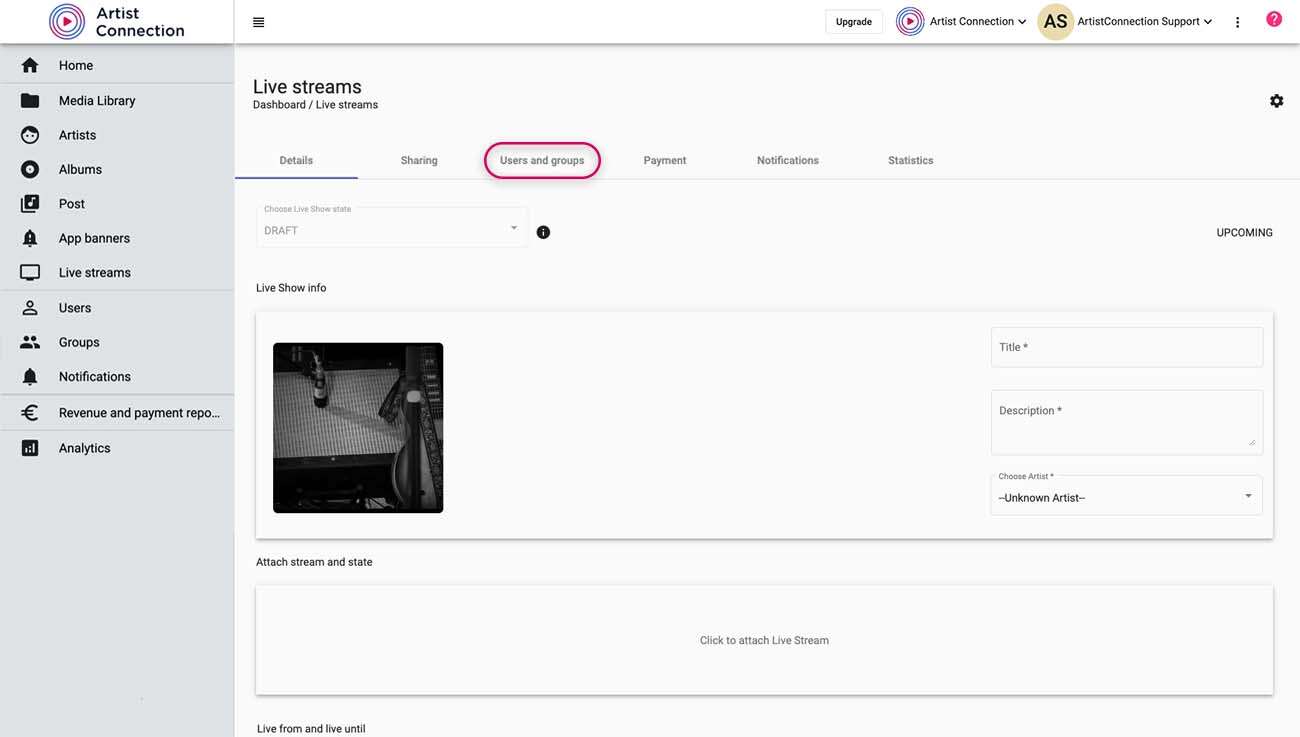
- Click Users and Groups from the top menu on your live stream.

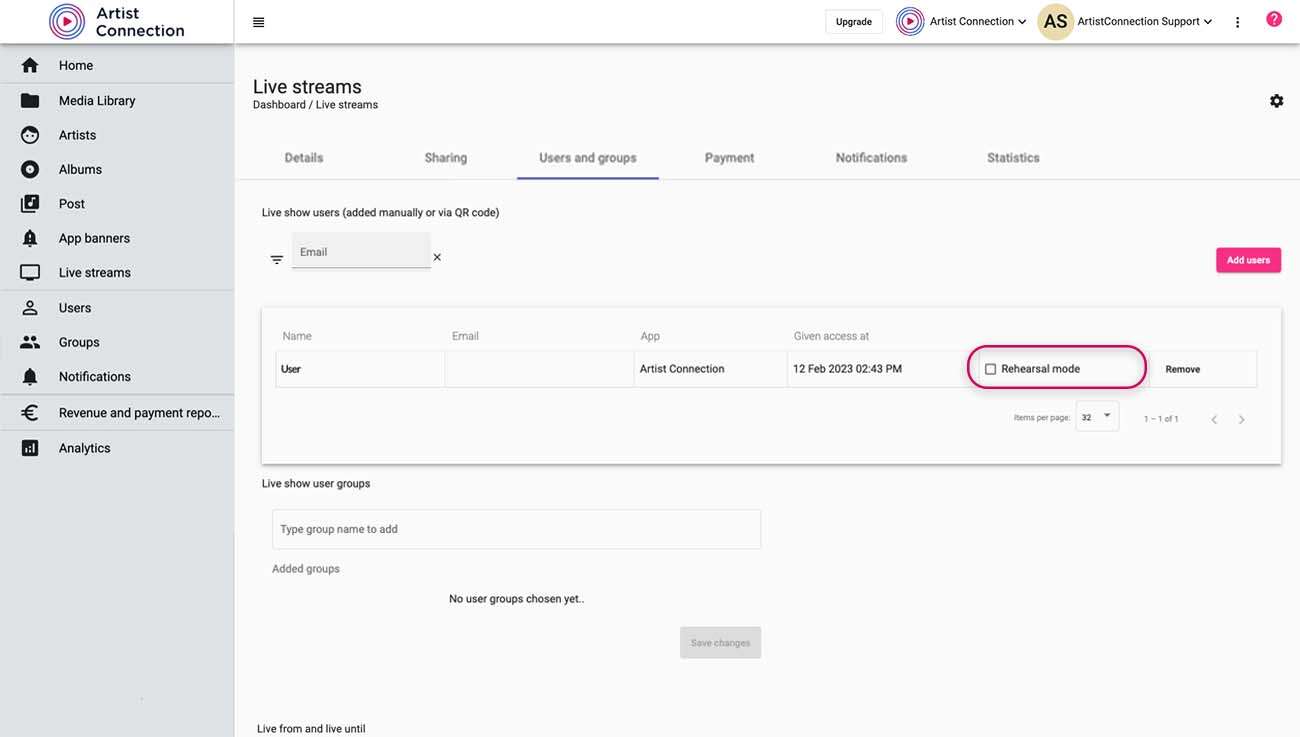
- Click Rehearsal Mode on the users you want to enable. This allows those specific users access into your live stream before you make it public.

- Click Confirm.
Adding Users to a Live Stream
Have a person you want to join your rehearsal? Add them to Artist Connection first and then enable rehearsal mode.

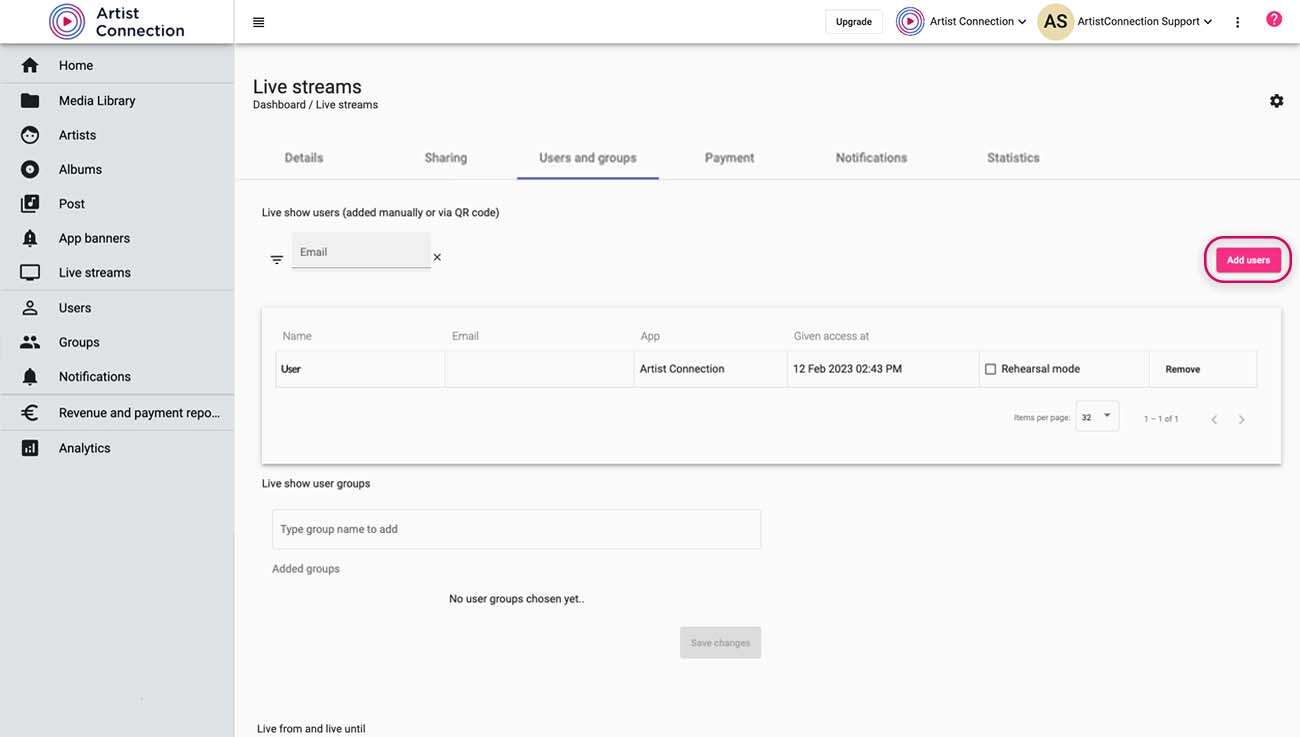
- Click Add Users.
- In the dialog box, begin typing in an email address, hitting Enter on your keyboard after each address.
- After entering all email addresses, click Invite.
